

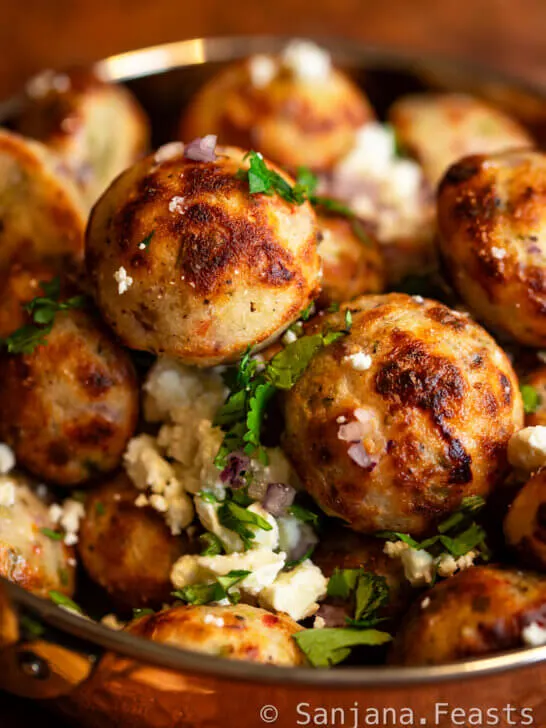
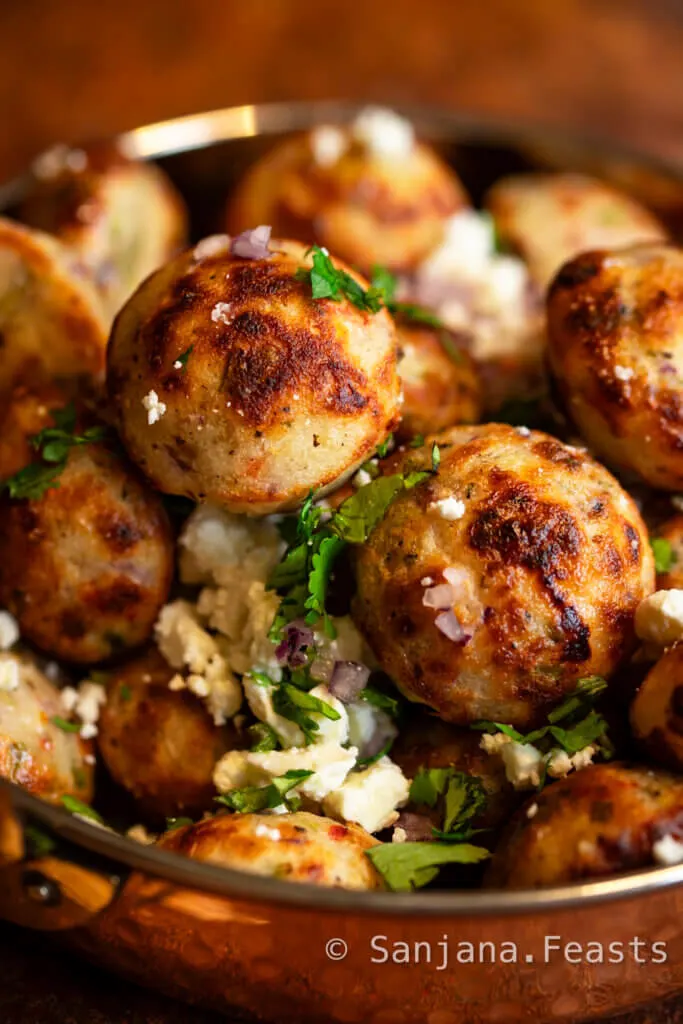
Let’s make Feta Paniyaram! Here’s my modern take on South Indian Paniyaram, combining feta, ground black pepper, onion and fresh coriander.
This is a batter recipe for South Indian Paniyaram with just a touch of Greek flavour.


If feta isn’t your thing, feel free to experiment with your own add-ins. Indeed, this is a choose your own adventure recipe.
Inside these little balls of fermented lentils and rice is a spongy texture and blank canvas for any flavours you might like to add.
What are Paniyaram?


Paniyaram, also known as kuzhi paniyaram in Tamil Nadu, are mini ball-shaped crisp pancakes made with fermented urad dal and rice batter.
They’re a traditional South Indian cuisine, popular for breakfast or as a snack.
The poha (flattened rice) in this helps to keep the paniyaram soft and squidgy. However, if you don’t have poha, you can also add the same measure of cooked, cold rice.


Flavours and variations
- Add pre-cooked chopped mixed vegetables like carrots, peas, green beans, peppers, corn or broccoli.
- A touch of blended spinach will add a vibrant green colour.
- A mashed banana and touch of cinnamon make for delicious sweet Paniyaram.
How to serve Paniyaram

As we know, Paniyaram can be made in both sweet and savoury variations.
The savoury version is typically eaten with a spicy chutney, sambar, pickle, or even with different kinds of podi (a South Indian spice powder). I like to make a paste of podi and ghee for dipping. Delicious!
The sweet version is often enjoyed with grated coconut and jaggery (unrefined cane sugar).
Most sources point to Tamil Nadu and Karnataka as the birthplace of paniyaram. The name itself comes from Tamil, with ‘kuzhi’ meaning ‘hole’ referring to the mold the batter is cooked in.
Paniyaram has many names across South India, like ‘paddu’ in Kannada, ‘guliyappa’ and ‘ponganalu’ in Telugu, and ‘appe’ in Marathi. This variety suggests a long history of being enjoyed in different regions.
Which pan is best for making Paniyaram?


This is the style of pan I use for making Paniyaram (affiliate link) > https://amzn.to/3XxzxOW
Paniyaram is cooked in a special pan called a paniyaram chatti or appe pan. This pan has a round base with several hemispherical cavities.
All you need to do is pour the batter into the cavities and cook until golden brown and crispy on the outside.
The pan is almost identical to those used to make Poffertjes (yeasted Dutch batter cakes), Aebleskiver (Danish pancake balls), Takoyaki (Japanese octopus snacks), Khanom Krok (Thai coconut snack) and Vitumbua (Tanzanian coconut doughnuts).
Any pan suitable for making the dishes mentioned above will suffice for making Indian Paniyaram.
Do Paniyaram freeze well?
Paniyaram freeze very well but when you reheat them, steam from frozen for a few minutes, and then pan fry over a high heat. By reheating this way, they won’t dry out.
Feta Paniyaram | Easy Paniyaram Batter Recipe | How to make South Indian Paniyaram
Feta Paniyaram


Paniyaram, also known as kuzhi paniyaram in Tamil Nadu, are mini ball-shaped crisp pancakes made with fermented urad dal and rice batter. This is my take on the recipe, using creamy, salty Greek feta, black pepper and fresh coriander. The bites are crispy on the inside and spongy on the inside. Delicious!
Ingredients
For the paniyaram batter
- 650g idli rice (parboiled short-grain rice)
- 175g Basmati rice
- 3 tbsp poha (flattened rice flakes)
- 100g urad daal (white)
- 1/2 tsp methi seeds (fenugreek)
You will also need
- 200g feta, crumbled
- 1 medium red onion, finely chopped
- 2 tbsp fresh coriander, roughly chopped
- 1 1/2 tsp coarsely-ground black pepper
- 1 tsp roasted cumin seeds
- 1 red chilli, finely chopped
- 3 tbsp oil, for cooking the paniyaram
Instructions
- In a large bowl, mix together the idli rice and Basmati rice. Wash in plenty of cold water, changing the water 3-4 times. Top the bowl up with enough cold water to cover the surface of the rice by 3-4 centimetres. It doesn't matter exactly how much, just make sure it's plenty as the rice will bloat and absorb the water as it soaks. Cover the bowl and allow to soak for 6-8 hours.
- In a separate large bowl, mix the urad daal and fenugreek seeds. Repeat the washing process, changing out the water 3-4 times. Top the bowl up with enough cold water to cover the surface of the daal by 3-4 centimetres. It doesn't matter exactly how much, just make sure it's plenty as the daal will also absorb the water as it soaks. Cover the bowl and allow to soak for 6-8 hours.
- Drain both the rice and the daal. Reserve about 100ml soaking liquid from each. Keep the rice and daal separate at this stage.
- In a high-powered blender or wet grinder, grind the rice until it is of a flowing consistency, still with some very fine grains. You might need to scrape the blender down between blitzes to ensure even blade time. Do not add too much water. If your blender is struggling, add a tablespoon of water at a time. The aim of the game is to add as little water as possible. The batter should feel like very fine grains of salt when the batter is rubbed between the thumb and forefinger. If you're a visual learner, watch my recipe video to see the exact consistency required. Transfer the mixture to a large bowl.
- Next, grind the daal and methi mix, along with the poha. This time, you're looking for a very smooth batter with no gritty feeling when rubbed between the thumb and forefinger. Add this to the bowl along with the ground rice batter. Again, try to add as little water as possible whilst grinding.
- Use your fingers to whip the batters together until well combined. Cover tightly and keep the bowl in a warm place for 8-12 hours, until bubbly, risen and fermented. You will be able to smell when it's done (it will have a sour, beer-like smell). If you keep the bowl somewhere cooler, the batter will take much longer to ferment so try to pick a very warm spot. Also, ensure your bowl is deep enough as the batter will rise up and overflow in a small bowl.
- Once the mixture has fermented, add salt. Do not add salt prior to the batter reaching the correct stage as it will delay the fermentation process. For the total amount of batter, I added about 1 1/4 tsp salt but start off with less and taste before adding more. Bear in mind that the feta is also quite salty.
- Adjust the consistency of the batter with a little bit of fresh water at a time. Beat with a ladle and check if it is a thick, flowing consistency. Again, please refer to the video if you're not sure what I mean by this. When dropping the batter from a height it should billow off the ladle and flow like lava, slowed by the air bubbles inside. This is why it's important not to add too much water when grinding; You can always add water, but you can't take it out. The flavour and smell should be a happy kind of sour.
- Congrats, your paniyaram batter is now ready. Keep it covered and at room temperature until you're ready to use it. If you're not using it on the same day, you can also store it in the fridge for up to 2 weeks. It will become more sour over time, which adds to the delicious flavour.
- For this recipe, we will use half of the paniyaram batter. Store the other half in the fridge for later or double the quantity of add-ins to make paniyaram for a crowd.
- To half of the paniyaram batter, add 150g of the feta (reserve 50g for serving), red onion, coriander, black pepper, cumin and chilli. Stir well and set aside for 15 minutes.
- Grease the divets of a paniyaram pan with oil and place over a medium heat. Once the pan is smoking hot, place around 2 teaspoons of batter into each divet. Keep over a medium heat until bubbles begin to appear on the surface of the paniyaram. Cover with a lid and turn the heat down slightly. Allow to cook for 3-4 minutes, or until the tops have firmed up a little around the edges (not fully set).
- Remove the lid and use a cocktail stick to turn the paniyaram over. The bottom should be golden and crusty. Allow to cook over a medium-low heat (uncovered) for another 2 minutes or until a cocktail stick comes out clean with just a few moist crumbs attached. You can add a touch more oil to help browning on the other side.
- Poke the cocktail stick in and lift each paniyaram out. Wipe the pan with a clean, dry kitchen towel, grease and repeat the filling and cooking process for the remaining batter.
- Serve the paniyaram hot, garnished with extra crumbled feta and chopped coriander. Enjoy with your favourite chutneys.
Pin this recipe for later!


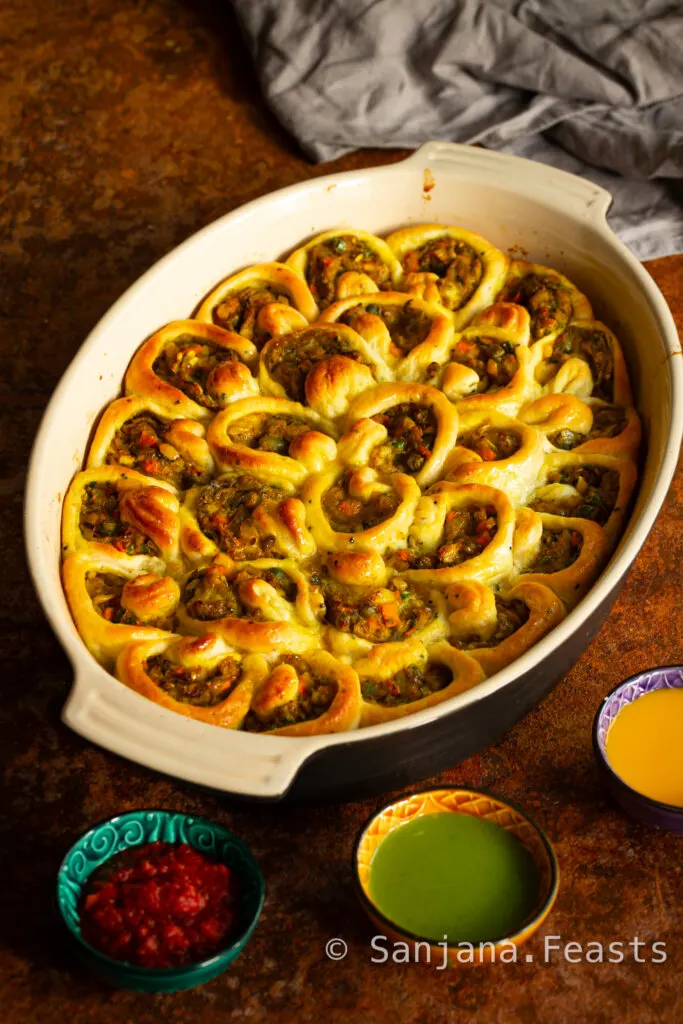
If you like this, you’ll love my recipe for Pull-Apart Samosa Bread

Hungry for more?
Indian Appetizers for a Party (25+ Vegetarian Recipes)
Looking for a list of Indian appetizers for a party? You've come to the right place! Explore incredible Indian flavours with my collection of Indian vegetarian appetizer recipes that are perfect for parties, potlucks, festivals and well... any celebration! Not only are there loads of quick Indian starters for a crowd, there are also easy Indian starters to make ahead. That means you'll have more time with friends and family. From Air-Fryer Samosas to the most mouth watering Paneer Tikka, there's something for everyone.

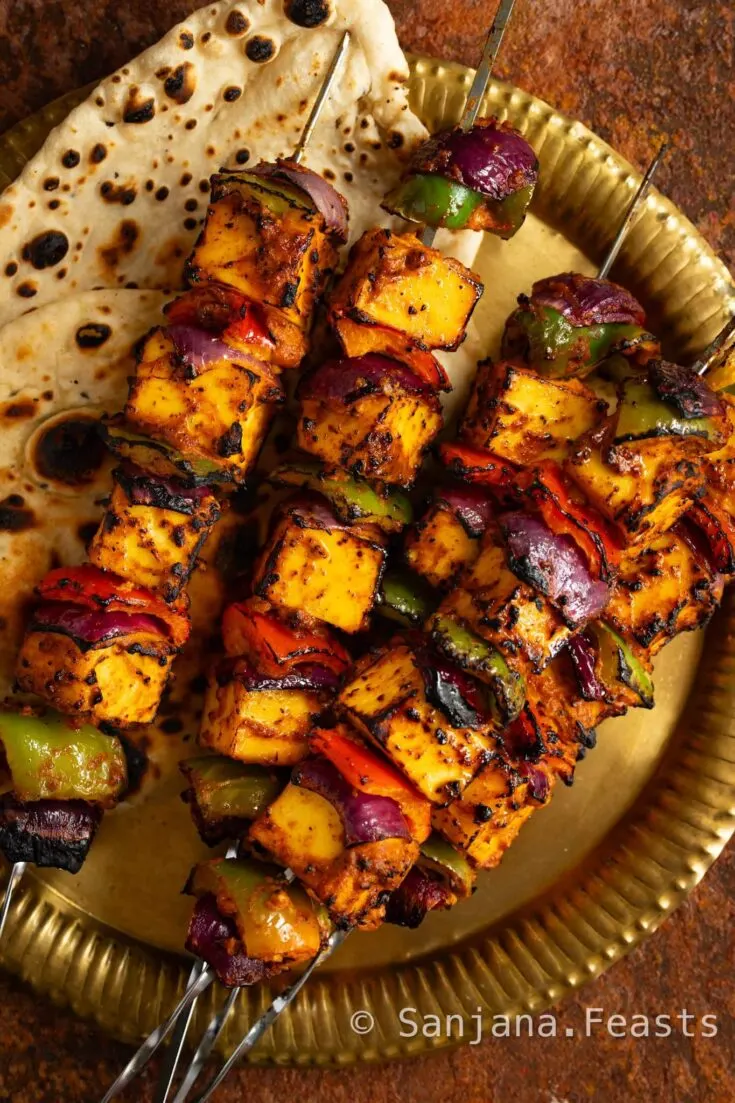
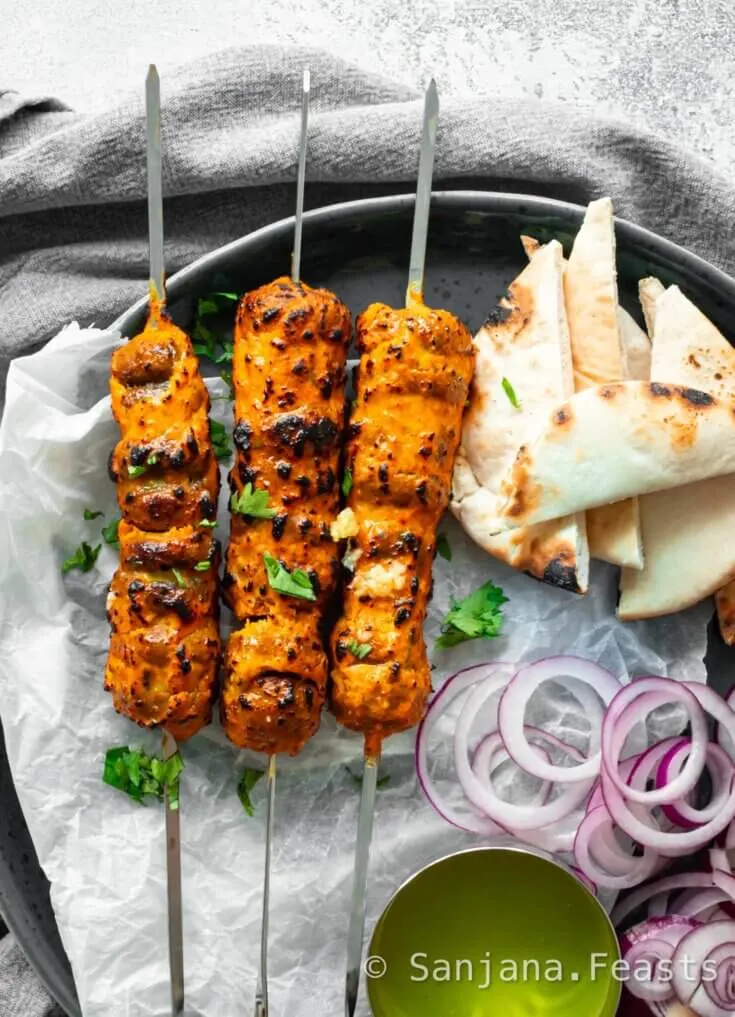
Learn how to make the most delicious Tandoori Paneer Tikka, just like your favourite Indian restaurant! Pieces of paneer (cottage cheese), peppers and onions are first marinated in yoghurt and spices, and then skewered and grilled to smoky perfection. Serve with naan and mint yoghurt. Here's an easy to follow recipe and video.
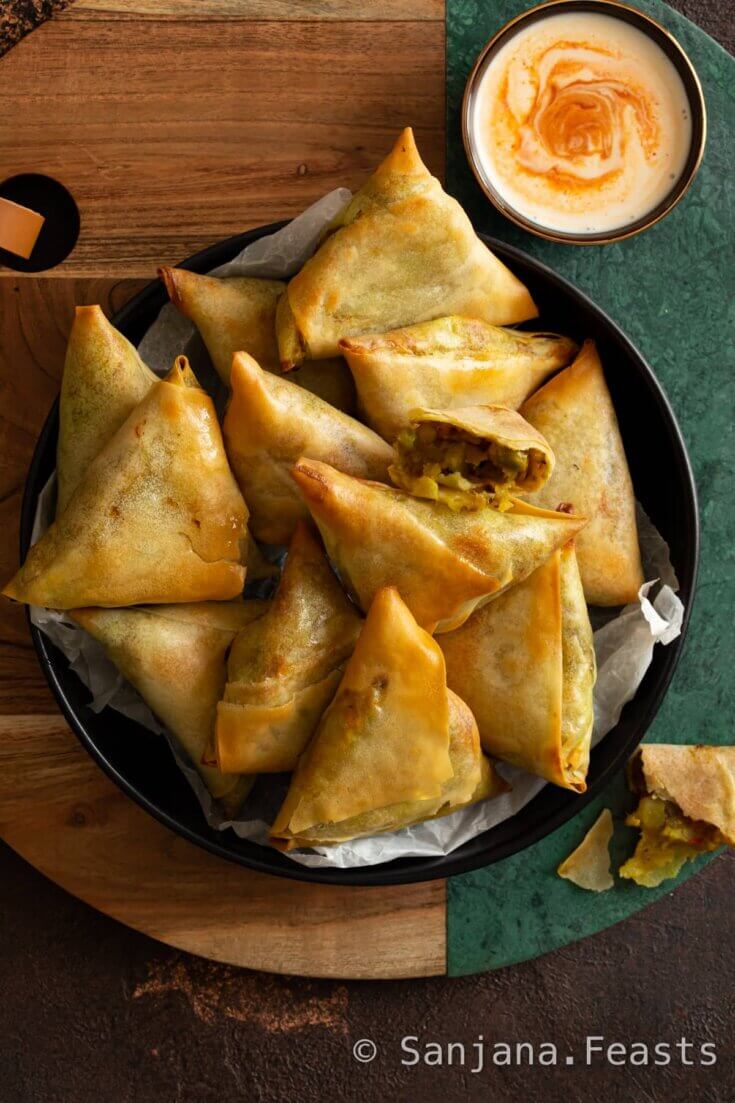

Here's a delicious recipe for the crispiest air fryer samosas. You won't believe these lightly-spiced, vegetable parcels aren't deep fried! They're vegan-friendly too.


Feed a crowd with this vibrant and flavoursome Curry Pasta Salad. It's loaded with freshness, crunch and mild spices. The perfect Indian-inspired salad dish to serve alongside burgers, sandwiches and your favourite bbq dishes. This easy pasta salad recipe is so simple to make in batches for packed lunches, picnics and meal prep. Feel free to switch up the veggies to whatever you have in the fridge!


Try this easy recipe for golden fried mogo chips with hot chilli 'bomb sauce', Indian East African style. Mogo, also known as cassava or yuca is tasty and simple to make. Think of it as a more flavoursome and robust potato chip. The outside is so crispy it's almost flaky, and the inside is soft, with a starchy fluffiness. The bomb sauce is a spicy lemon butter with tonnes of flavour. Perfect for dipping. Serve as an appetizer, side dish or snack.
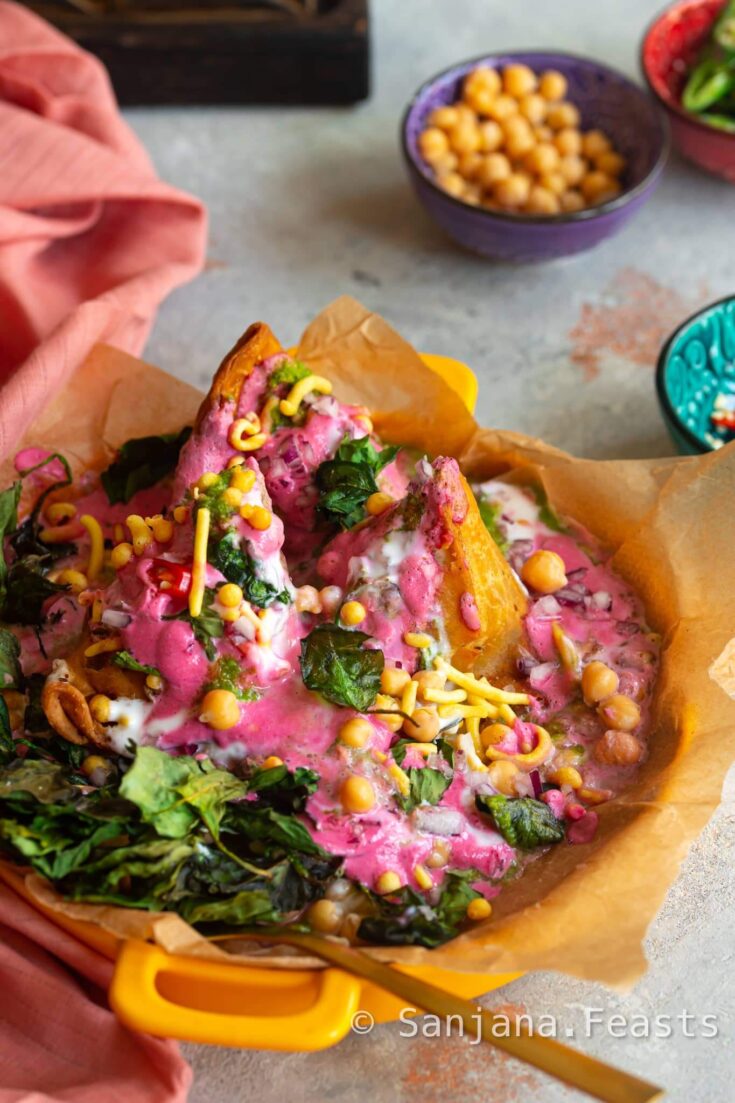

Golden Punjabi samosas drenched in refreshing pink yoghurt sauce and green chutney. The samosa chaat is topped with tender chickpeas, red onion, boondi pearls, sev and crispy spinach leaves before serving. Samosa Chaat is a total crowd pleaser; An Indian appetizer with incredible flavours and a vibrant finish.
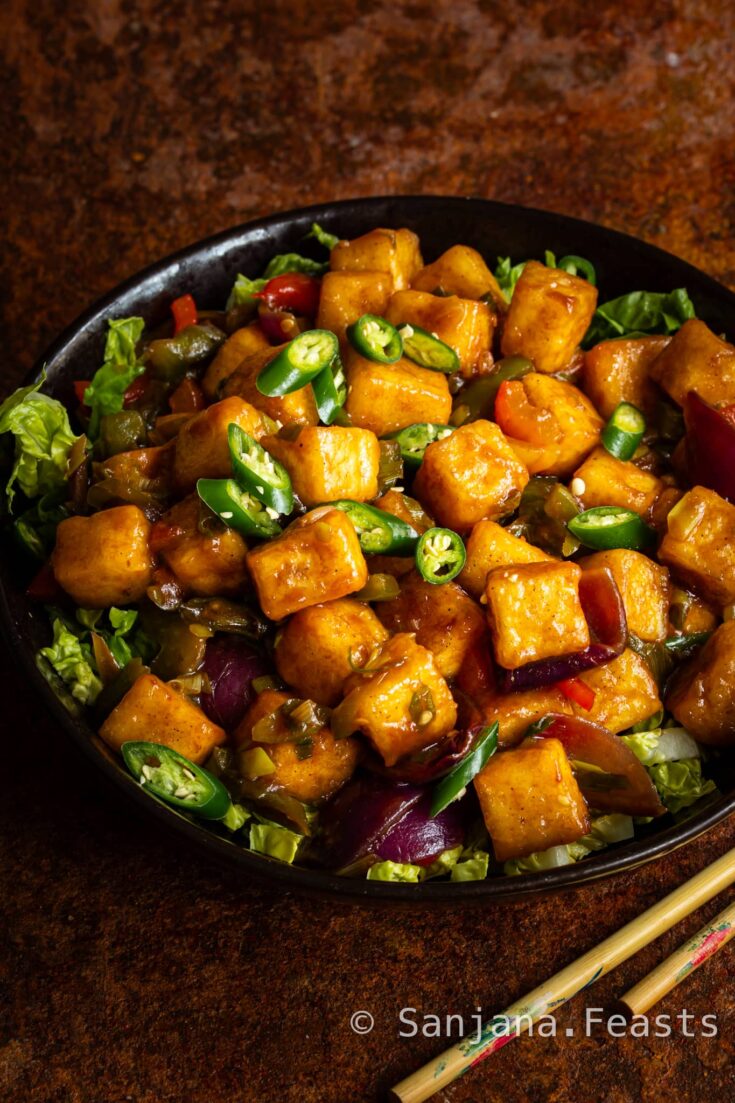

Crispy paneer cubes wok-fried in a chilli and garlic sauce with crunchy peppers and onions. A real Indo-Chinese crowd pleaser and Indian restaurant favourite. This dish is perfect as an appetizer, or as part of a larger meal with rice or noodles.


Make the most of sweet, seasonal squash with this celebration of Indo-Chinese flavours. The crispy pumpkin wedges are tossed in a fiery chilli and garlic sauce.


My Pull-Apart Samosa Bread is packed with spicy vegetable samosa filling. If you’re craving those ever-popular Indian snacks, but want something a little out of the box for your next party, this is the recipe for you.
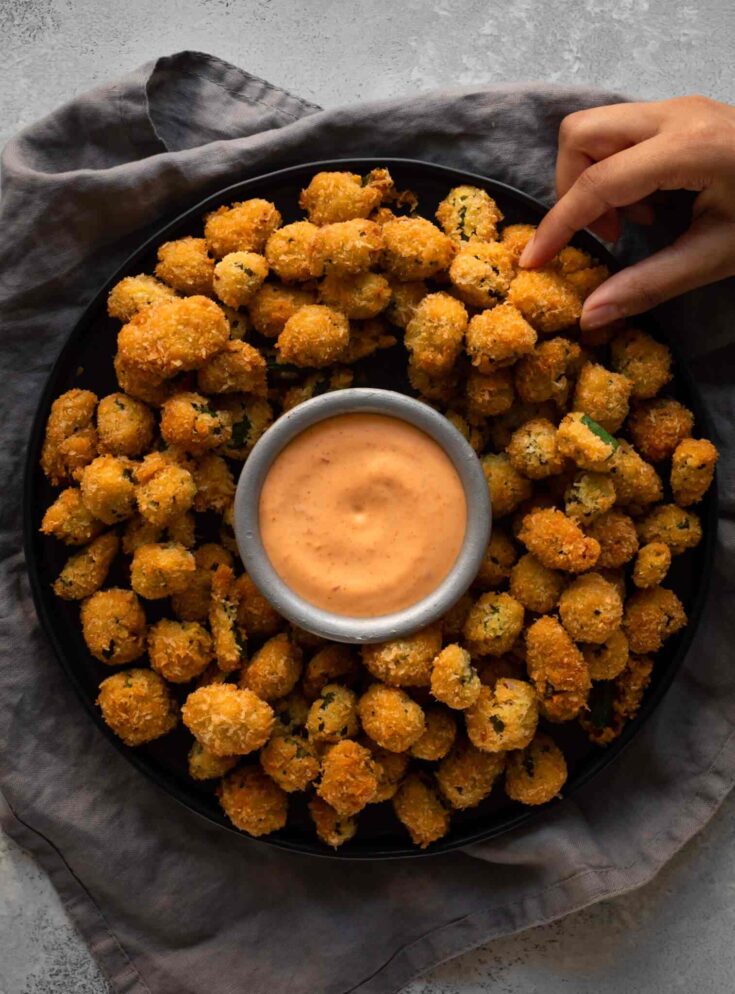

Crispy, spiced nuggets of okra served with a hot and spicy vegan mayo. Put the natural stickiness of okra to work by creating a "glue" for crunchy panko breadcrumbs and coconut. Fry or bake for a delicious, golden snack. Once you start, you won't be able to stop eating. Dip them in my Atomic Red Chilli Mayo for addictive heat!
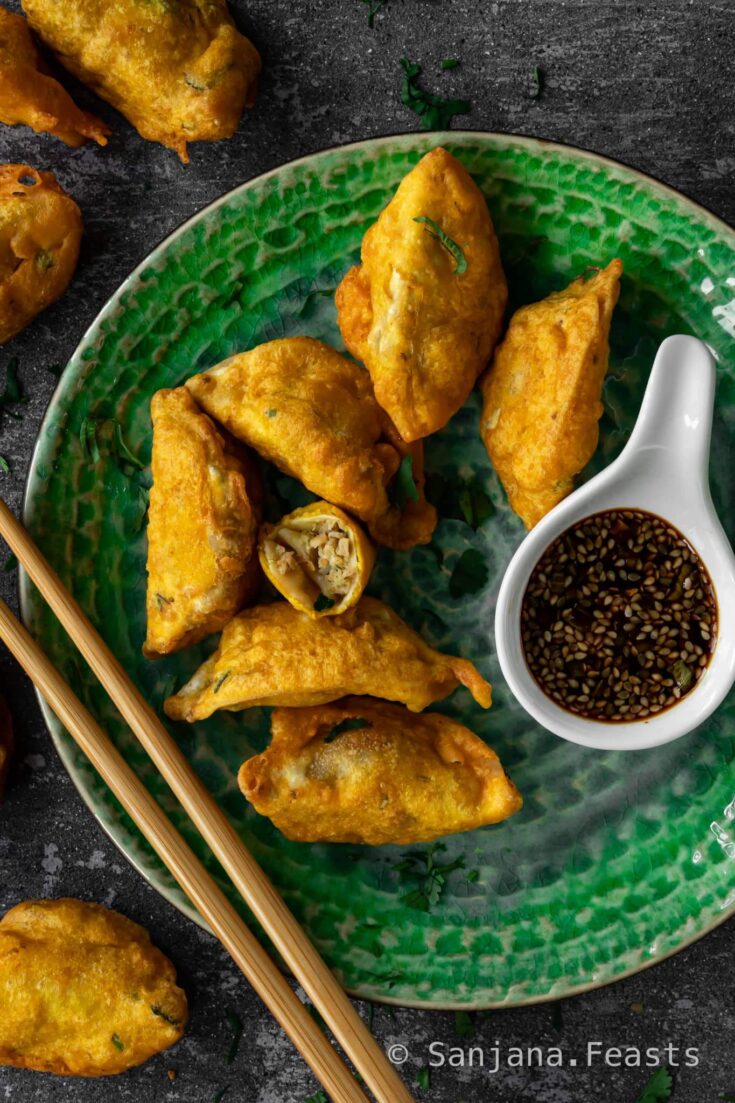

Gyoza Bhajia are the ultimate Asian mashup when it comes to tasty vegetarian finger food. Crispy dumplings covered in a spicy bhajia batter.


Gujarati Handvo is a golden, fermented rice and lentil cake with vegetables and spices. Some call this delicious tea-time snack Ondhwo, but it has many different names.


Follow my video tutorial and make this easy Garlic Butter Khichu (Papdi no Lot) recipe. It's a delicious steamed rice flour snack from Gujarat, India.


A fragrant chilli crisp stir fry with tempura aubergines and homemade chilli oil. This is a flavour explosion, so serve it with plain, steamed Jasmine rice or noodles.


Inspired by India's royal kitchens, this Paneer Tikka is packed with chunks of grilled cottage cheese and apricots. Serve inside flaky saffron paratha, along with mint chutney and pink pickled onions.


A tasty 2-in-1 way to enjoy the Gujarati snacks Patra and Dhokla, together! A layer of tamarind-spiced colocasia rolls baked into spongy dhokla (khaman) batter. A tempering of spices goes on top and this snack is ready to slice and serve. Enjoy with your favourite chutneys for a light and flavoursome Indian snack at any time of day.
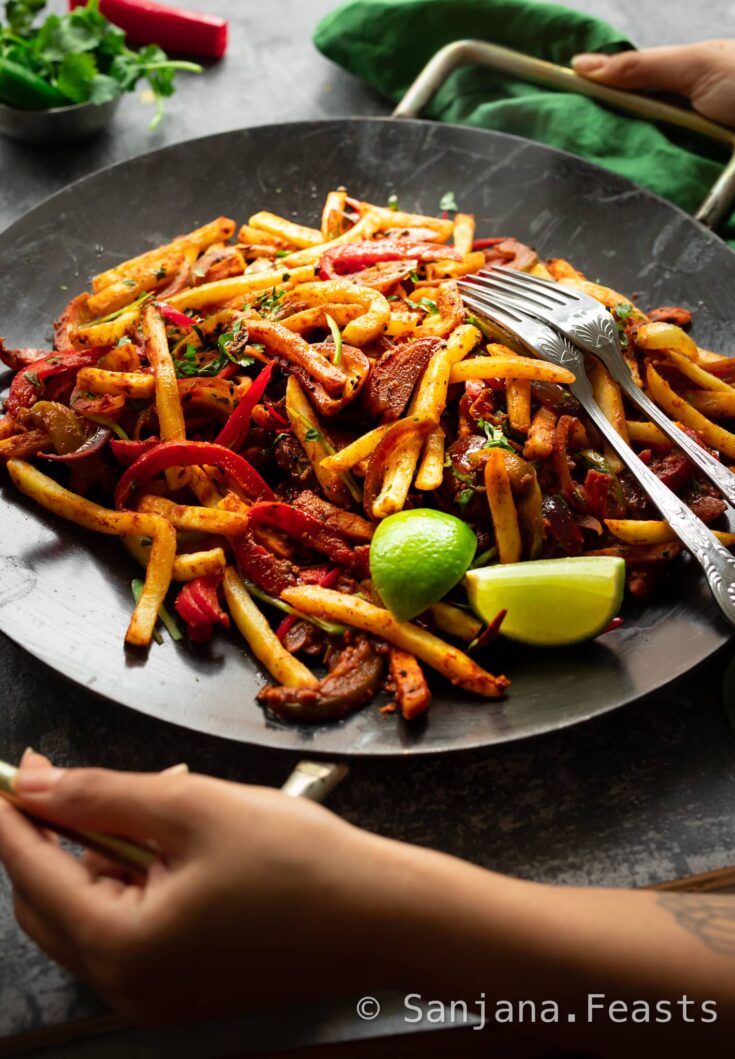

Hot and spicy Indian masala fries in restaurant-style Jalfrezi sauce. Big flavours! This makes for an amazing starter or side dish.


The only recipe you need to make a deliciously easy garlic bread! This simple garlic bread recipe is perfect for sharing. Use any type of flatbread or crusty loaf you have to hand. My favourite is to have it on Afghani Naan or French baguette. Top with cheese or keep it plain. It's delicious with gooey, melted mozzarella. Pro tip: Add a touch of fresh lemon zest for lemon and garlic bread.

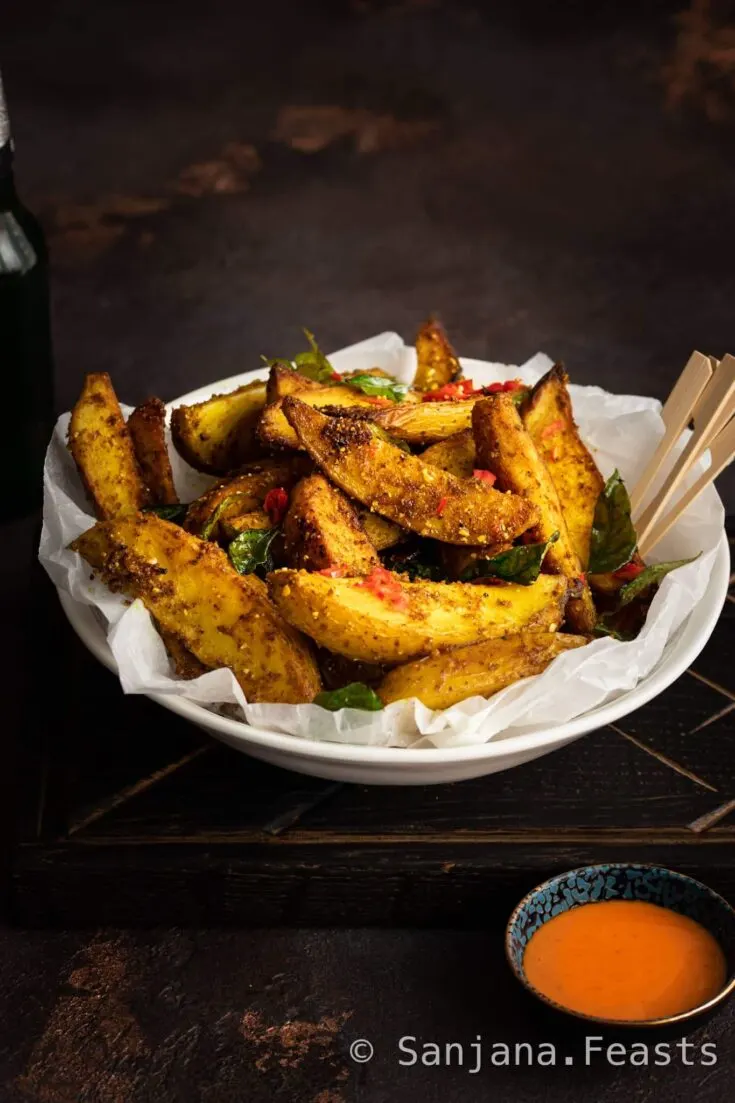
XXL potato wedges with a crispy spice and rice coating. Serve these curry leaf-topped wedges with your favourite dips.


Crispy fried spinach leaves topped with a monsoon of Mumbai chaat favourites including masala yoghurt, red, green and tamarind chutneys, onions, tomatoes and crunchy sev. They get more addictive with every bite! If you're a lover of nachos, try this Indian-style chaat.

This Tandoori Stuffed Mushroom Tikka is filled with cheesy garlic and corn stuffing. Make a delicious tandoori marinade, skewer the mushrooms and grill for a smoky finish. A stunning appetizer.


Never underestimate the power of Masala Cheese Scones and a mug of hot tea. This casual comfort combo is my go-to for when I need a dose of nostalgia.


Make light work of preparing Indian samosas with this simple but show-stopping Giant Sharing Samosa. Stuff this super-size samosa with a classic combination of potatoes, peas and mixed spices.


Top with a mountain of Indian chaat favourites like crunchy sev, masala yoghurt, more onions, tomatoes, chaat masala and three kinds of chutney. I won’t even tell if you choose to sprinkle in some crushed crisps.


Flavour bomb incoming! For the ultimate Vegetable Manchurian, I toss crispy vegetable dumplings in a hot and garlicky Indo-Chinese sauce. It’s fiery, loaded with flavour and gives your favourite Asian restaurant a run for its’ money.


American Chinese takeout favourite General Tso's Chicken gets a vegetarian makeover with this Desi Chinese-inspired paneer (fresh cheese) version. Crisp-coated creamy paneer nuggets tossed in a sticky spicy, sweet and sour sauce.


These Easy Vegan Curry Puffs are light, flaky and perfectly addictive. They’re stuffed with Asian-style curried vegetables, soy sauce and coconut milk.

Indo-Chinese cuisine is a treasured part of India’s food culture. The Chinese immigrant community in India began centuries ago, and many Hakka settlers lay down new roots around the ports of Kolkata and Madras. The vibrant and flavoursome cooking of India’s Chinese communities has carved a place in all our appetites.