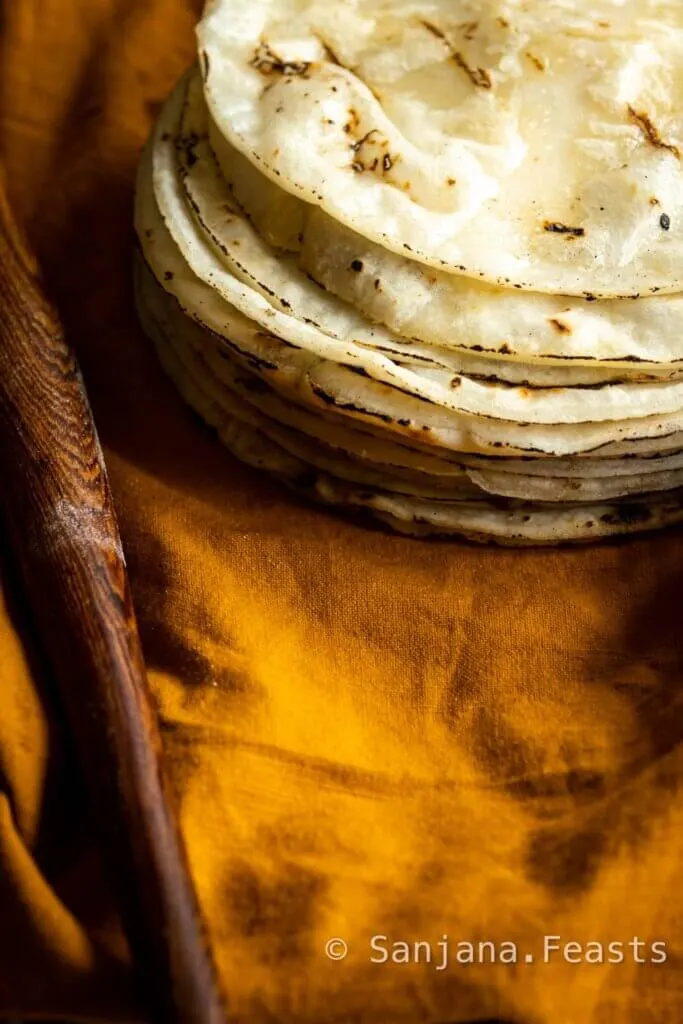
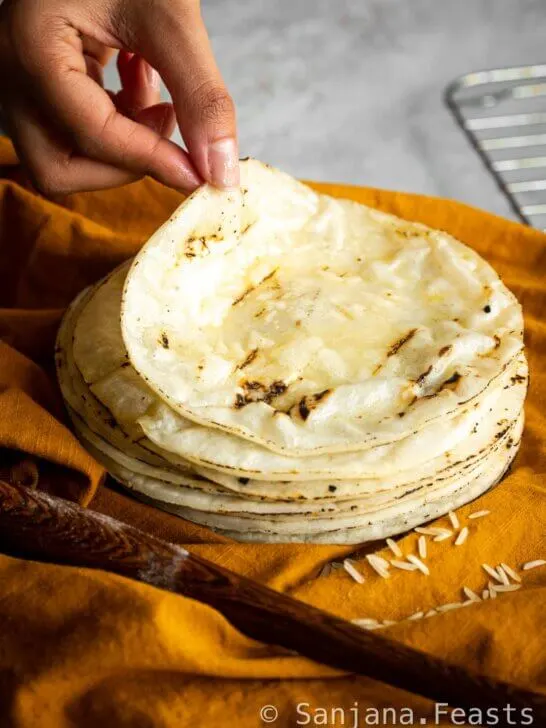
Soft and tearable gluten free roti is both easy to make and delicious! They will melt in your mouth.
It’s taken a few attempts to get this right but I’m absolutely blown away by how soft and pillowy these wheat free rotis are.
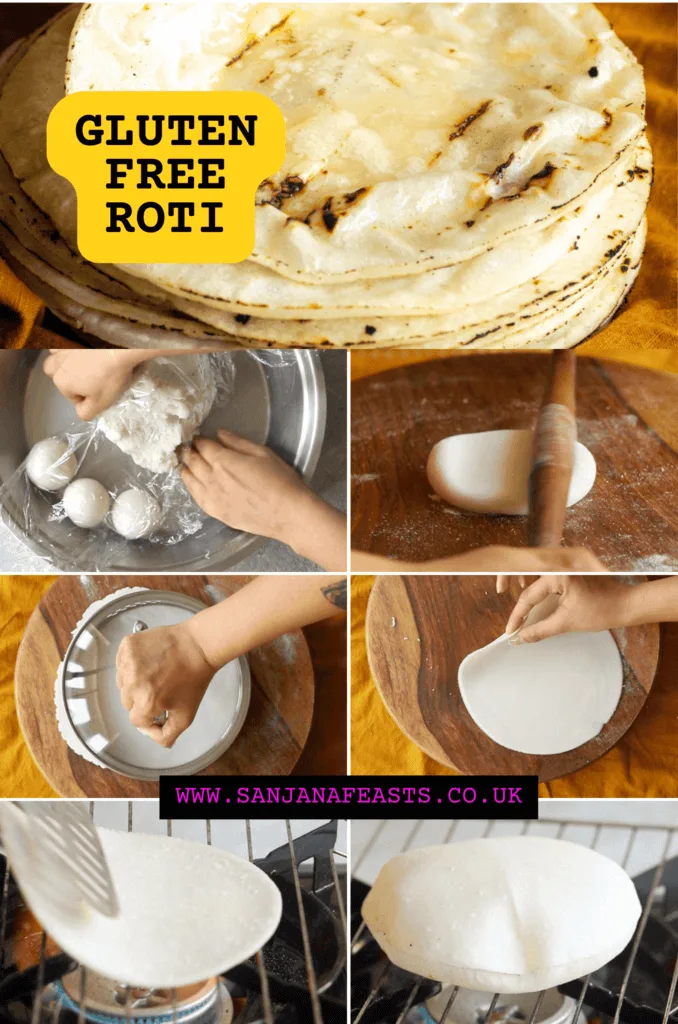
This recipe for Gluten Free Roti is:
- Free from wheat flour
- Made with 3 easy-to-find ingredients
- Vegan
- Nut free
- Delicious with any curry
Follow this step-by-step recipe for the puffy Indian flatbread, roti, which we’ll make without wheat flour.
Instead, we’ll be using rice flour!
What is roti?

Before we dive into why rice flour is the perfect ingredient for making roti, let’s first understand what roti is.
Roti is an everyday Indian flatbread, loved because it’s so quick and easy to make.
There’s no leavening involved.
A stack of roti goes with practically everything. It’s the little black dress of Desi dinnertimes.
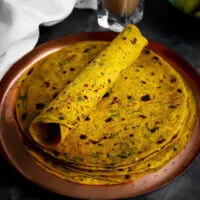
Below are classic wheat flour rotis.
You’ll see these gluten-free rotis are just as soft and tender.
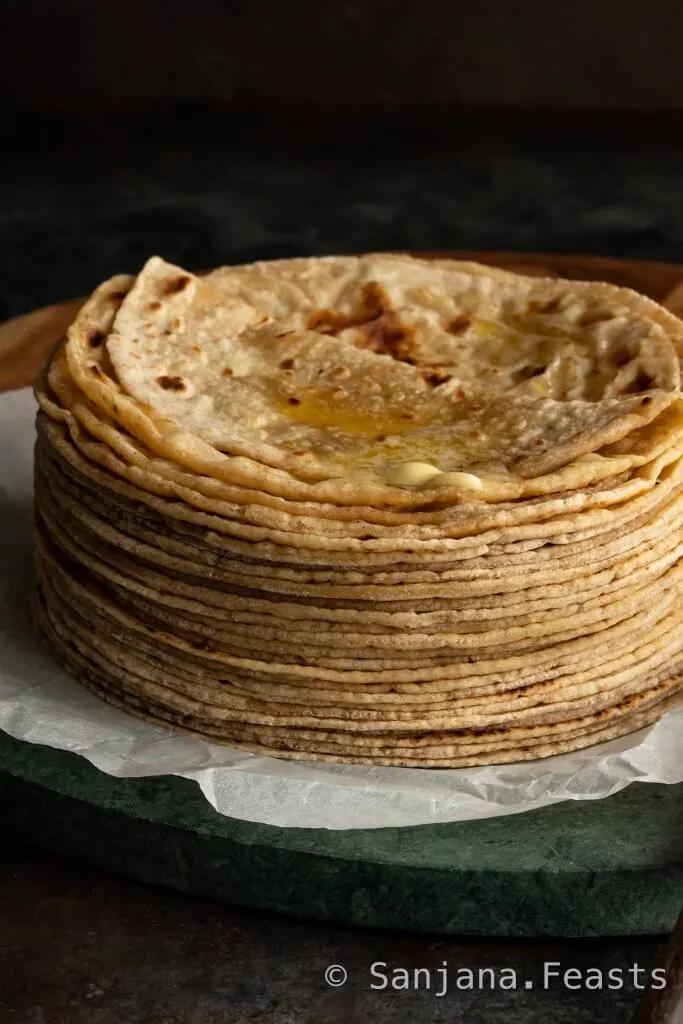


The traditional recipe is made with wheat flour, water and sometimes oil.
The dough is divided into small portions and rolled into thin discs.
These flatbreads are cooked on a tawa (a concave iron, steel or aluminium hot plate).
Unlike paratha, no oil is added during into the pan the cooking process, but the roti can be spread with ghee or butter after they are cooked.
Roti is one of the most treasured and versatile Indian breads.
The chapatis of my childhood


I’ve always had a penchant for Play Doh.
Twiddling bits of colourful, yielding putty to make all manners of make-believe objects, people and animals was soothing.
From a young age, making roti quickly became the activity that replaced my Play Doh adventures.
It felt useful and exciting to channel my energy into something more real; Into something I could eat.
I’d watch each roti rise like a balloon on the hot tawa, my breath moving in tandem with the rise and fall of the magnificent flatbread.
Rice flour’s role in roti
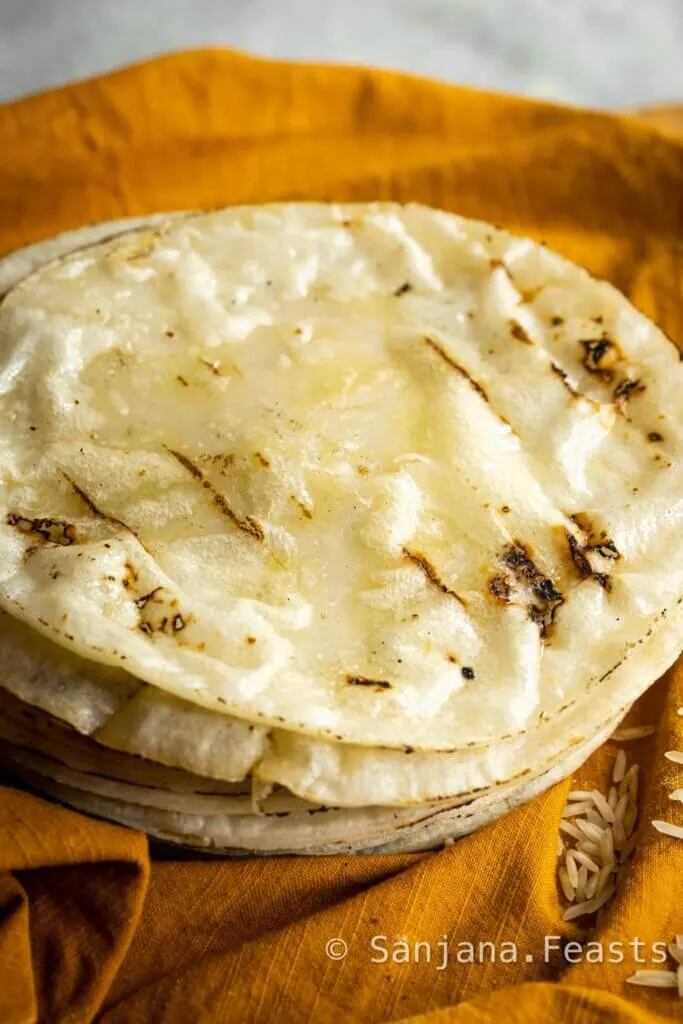
Roti, a traditional Indian flatbread, is a staple in many homes, mine included.
While wheat flour is used to make most styles of roti, rice flour is a great alternative that yields fantastic results.
Most of India’s ancient flatbreads were traditionally made with grains like millet, sorghum, lentils and rice.
Rotla, bhakri, dosa and cheela are some examples of flatbreads and pancakes served at meal times.
What is rice flour?

Rice flour is made from finely-milled rice and comes in both white and brown varieties.
For this recipe, we will be using white rice flour.
This gluten-free alternative to wheat flour roti is perfect for anyone with celiac disease or a gluten intolerance.
A light and fluffy texture
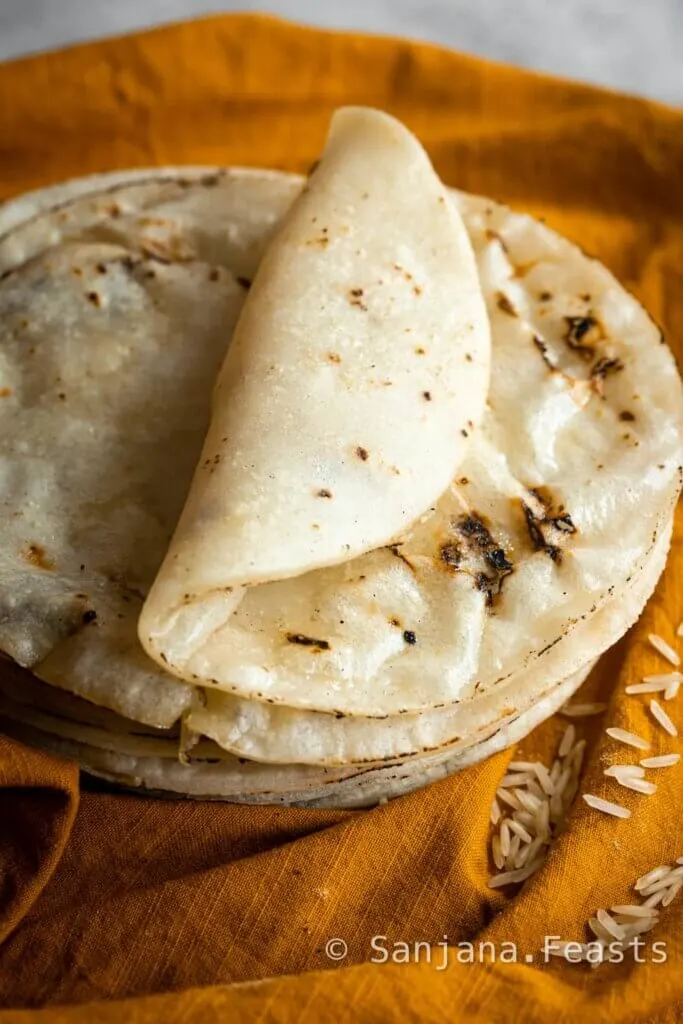
Rice flour has a neutral flavour which we know pairs well with curry and daal anyway.
Indeed, this makes it a great choice for roti.
However, since rice flour doesn’t contain gluten like our old friend wheat flour, we must knead the dough thoroughly.
Here, we lean on the natural starches in the rice for binding the mixture.
To coax out some of that prized starch, I like to steam the rice dough for about ten minutes.
The results are soft, delicate rice flour rotis that melt in your mouth.
Gluten free Indian dishes to serve with this roti
- Cabbage and Potato Curry
- Home-style Channa Masala
- Tofu Korma
- Paneer Curry (omit asafoetida if required)
- Shahi Daal

More innovative uses for rice roti
- Fajitas – For a gluten-free twist, try replacing wheat flour tortillas with these rice flour rotis when you next make fajitas. Fill them with your favourite veggies, cheese and proteins. Try my Paneer Fajita Traybake recipe.
- Breakfast wraps – If you’re tired of eating the same old breakfast every day, try making a rice flour roti wrap. I like to fill them with Scrambled Cauliflower (Gobi Bhurji) and slices of avocado.
- Quesadillas – Like fajitas, quesadillas usually involve a wrap made from wheat flour. You can easily swap this out for a gluten-free version. Simply fill half the roti with veggies and cheese, fold and cook on a greased frying pan until crispy.
Is rice roti the same as akki roti?
Technically speaking, akki roti is rice roti.
However, there are specific regional nuances that play an important part in distinguishing a simple gluten-free rice roti like this from traditional akki roti.
Akki roti is a speciality from the state of Karnataka in southern India.
What I love about akki roti is that the unique, crunchy texture and big, bold flavours.
You see, it includes ingredients like chopped onions, chillies, cumin seeds and fresh coriander.
Maybe I’ll share a recipe for this delicious dish in a future post but for now, let’s make an everyday rice roti recipe together.
Ingredients you’ll need for Gluten Free Roti
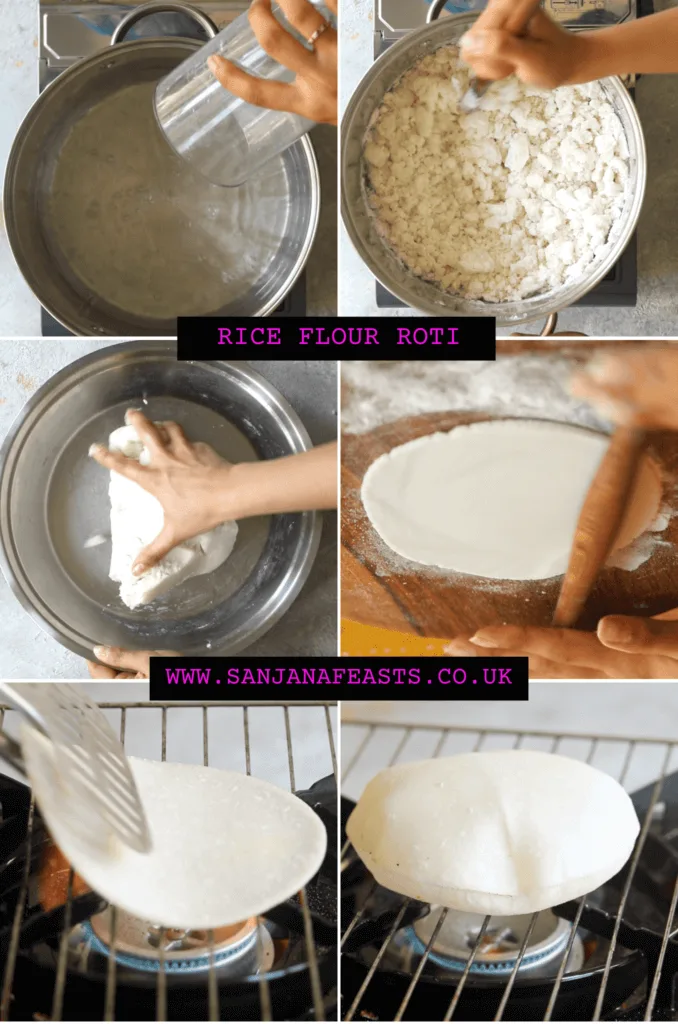
- Rice flour – choose pure rice flour for this recipe, not ground rice which can be coarse in texture. You will need powdered rice (100% rice flour)
- Oil – any flavourless cooking oil works fine. I use sunflower oil. If the oil has a strong taste, you will be able to taste it in the roti
- Salt – any fine table salt works
- You’ll also need hot water for binding the dough
Steps for making Gluten Free Roti
Step 1 – Mix the flour and water
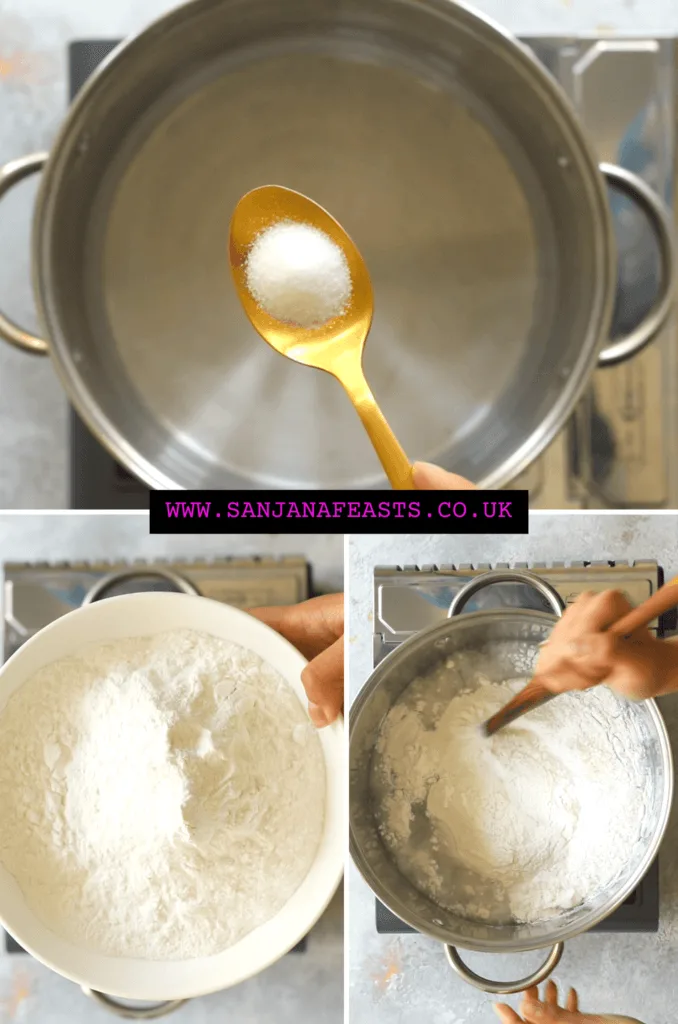
Heat the water in a pan. Add salt and bring to the boil.
Switch the heat off and add the rice flour.
Stir with the end of a rolling pin or wooden spoon.
Cover the pan with a tight-fitting lid and allow to stand for 10 minutes.
Do not leave it for longer than this.
Step 2 – Knead the dough (very important!)
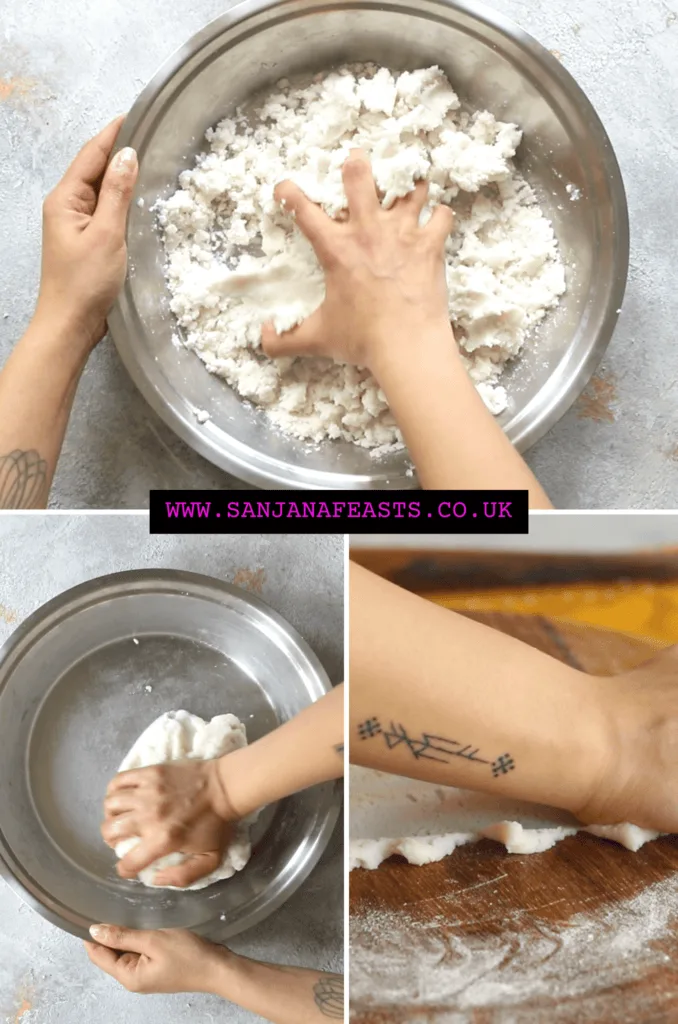
Transfer the mixture to a kneading plate or clean work surface.
Add the oil and use the base of a bowl to knead the dough.
Note: The rice flour mixture will still be very hot, so a bowl or flexible spatula will help to bring the dough together.
Once cool enough to handle, knead the dough using your hands for 6-7 minutes.
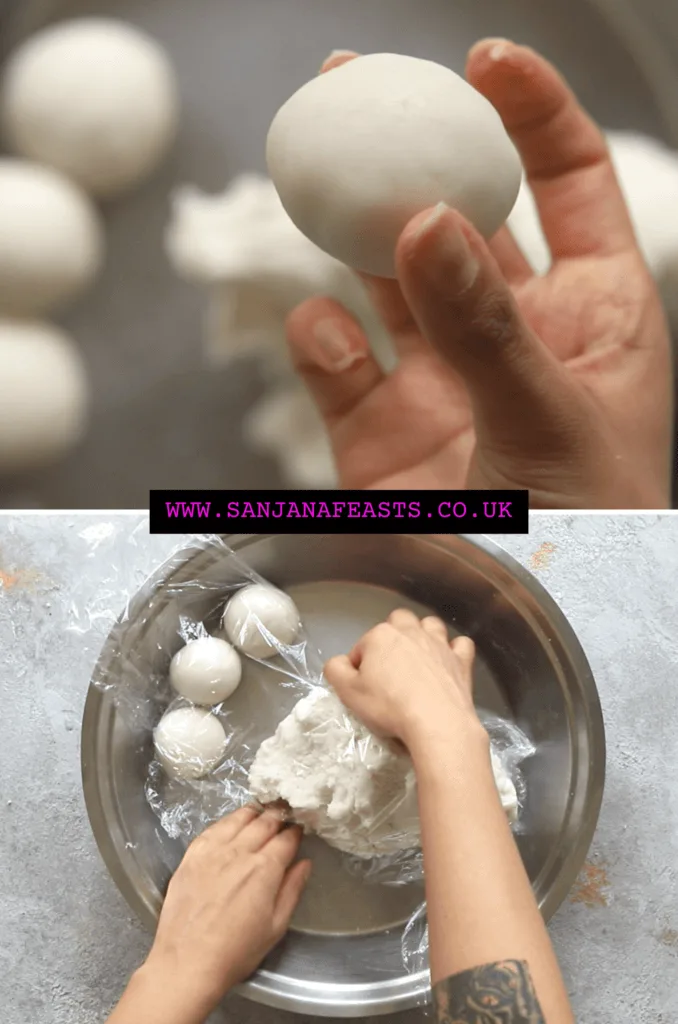
Portion the dough into 10 pieces. Make 8 pieces for larger rotis.
Wrap with cling film to prevent drying.
Step 3 – Roll the roti
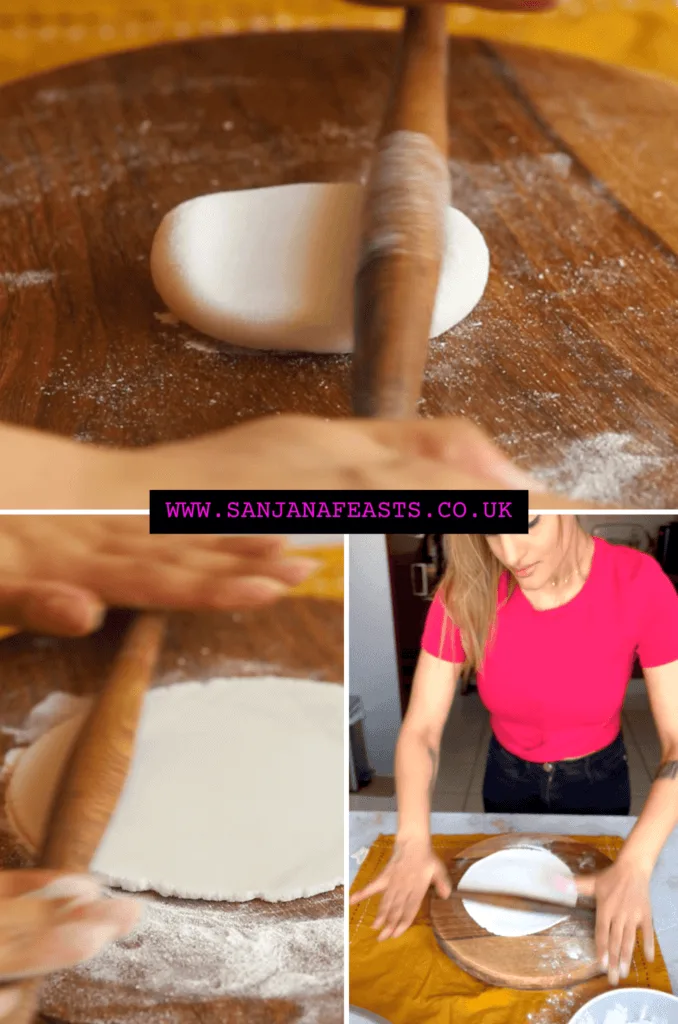
Take one portion of dough at a time and knead well (for about a minute) before you begin to roll.
The kneading activates the starch in the rice which will prevent the dough from cracking too much.
Watch my video tutorial for a visual technique.
Pre-heat a tawa or frying pan over medium-high heat.
Dust the dough and work surface with a small amount of extra rice flour and begin to roll into a circle, about 18-cm (7-inches) wide.
The edges may begin to crack a little and appear somewhat jagged – this is normal.
Take a round saucepan lid, about 16.5 cm (6.5-inches) wide, or very slightly smaller than the roti you’ve rolled.
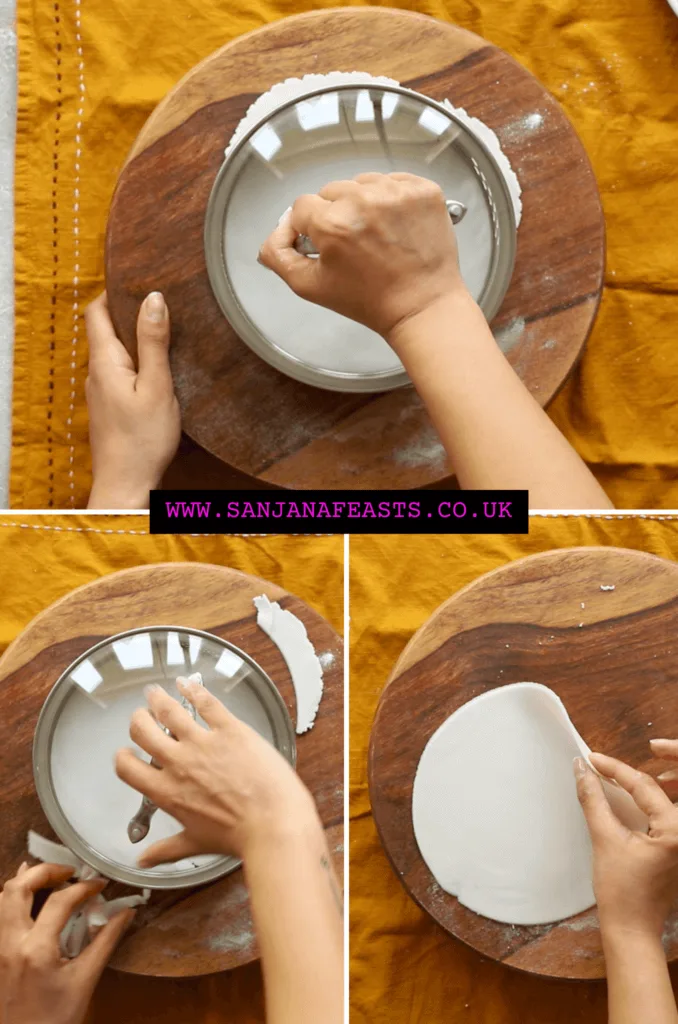
Use the pan lid like a cookie cutter, pressing it directly into the roti to cut the jagged edges off.
You should be left with a perfect circle.
Step 4 – Cook the roti
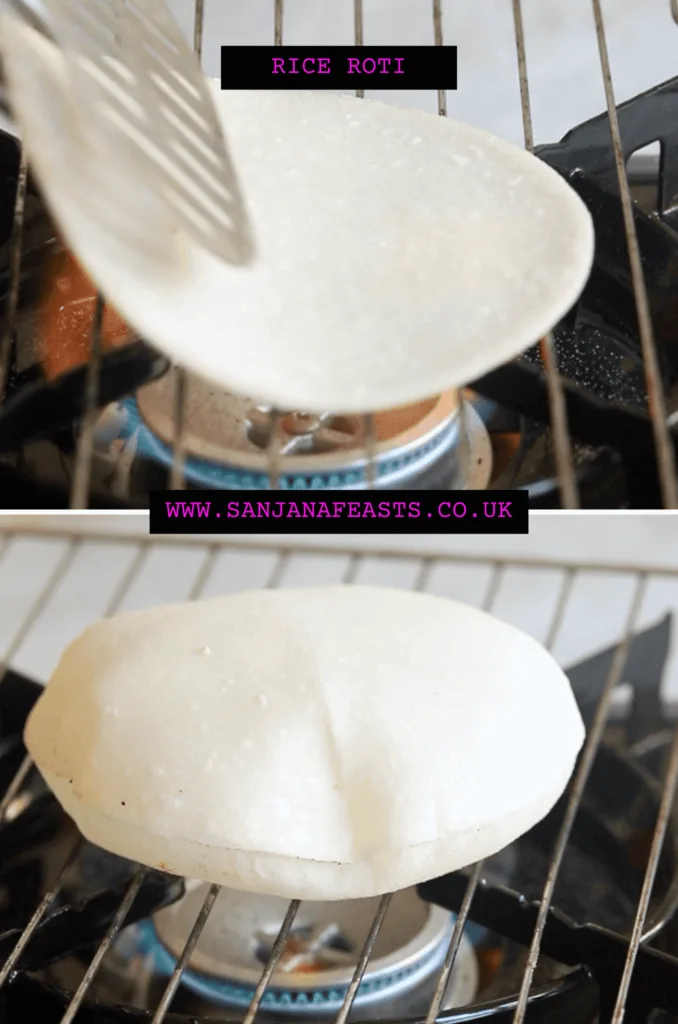
Place the roti directly onto the pre-heated tawa.
Cook for 10 seconds before turning the roti over using a turner or spatula.
Cook for 20-30 seconds, until light brown spots appear on the side that’s being cooked.
You can now turn the roti once more to cook the first side for another 15 seconds.
Alternatively, you can use a pair of tongs to transfer the roti to an open flame (topped with a heatproof rack).
This will cause the roti to puff up and char for the classic grill marks.
Of course, if you don’t feel confident to cook over an open fire, simply cook the roti on the tawa or frying pan all the way.
Finally, place the roti inside an insulated container. Spread with butter if desired.
Step 5 – Repeat until all the dough is used up
Repeat these steps for the remaining dough, creating a stack of rotis which will stay soft and foldable for a few hours.
Gluten Free Roti recipe
Gluten Free Roti (3 Ingredients!)

Soft and tearable gluten free roti is both easy to make and delicious. A step-by-step recipe for the Indian flatbread, roti, made without wheat flour. Only 3 ingredients! Serve these tender rice flour-based rotis with your favourite curry dishes, alongside daal, or use them as wraps. They puff up, fold, bend, wrap and tear just like regular roti. No need for any special ingredients.
Ingredients
- 340g rice flour
- 1 1/2 tbsp oil
- 1/2 tsp salt
- 425ml water
Instructions
- Boil the water in a large saucepan. Add salt and stir. Switch the gas off.
- Tip the rice flour into the water and stir with the end of a rolling pin or wooden spoon until a coarse, shaggy dough is formed. Cover the pan with a tight-fitting lid and allow to stand for 10 minutes. Do not leave it any longer as the dough must be kneaded while it is hot.
- Remove the lid from the pan and transfer the mixture to a wide kneading plate (parat), or onto a clean work surface. Add the oil.
- Since the dough will be very hot, knead the mixture using the base of a small bowl or with a flexible spatula until cool enough to handle.
- Once the mixture is has cooled slightly, knead the dough using your hands until soft and smooth, about 6-7 minutes. Portion the dough into 10 pieces. Make 8 pieces for larger rotis. Cover with cling film to prevent drying.
- Take one portion of dough at a time and knead once more (for about a minute) before you begin to roll. The kneading activates the starch in the rice which will prevent the dough from cracking. Watch my video tutorial below for a visual technique.
- Pre-heat a tawa or frying pan over medium-high heat.
- Dust the dough and work surface with a small amount of extra rice flour and begin to roll into a circle, about 18-cm (7-inches) wide. The edges may begin to crack a little and appear jagged - this is normal. If you don't mind, you can move on to step 9, or alternatively, go to the next step to tidy this up.
- Take a round saucepan lid, about 16.5 cm (6.5-inches) wide, or very slightly smaller than the roti you've rolled. Use it like a cookie cutter, pressing it directly into the roti to cut the jagged edges off. You should be left with a perfect circle.
- Place the roti directly onto the pre-heated tawa. Cook for 10 seconds before turning the roti over using a turner or spatula. Cook for 20-30 seconds, until light brown spots appear on the side that's being cooked. You can now turn the roti once more to cook the first side for another 15 seconds. Alternatively, you can use a pair of tongs to transfer the roti to an open flame (topped with a metal grate if required). This will cause the roti to puff up and char for the classic grill marks. If you don't feel confident to do this, simply cook it through on the tawa or frying pan.
- Place the roti inside an insulated container. Spread with butter if desired.
- Repeat these steps for the remaining dough, creating a stack of rotis which will stay soft and foldable for a few hours.
Notes
The warmer the dough is kept whilst kneading, the easier it will be to work with.
Do not pre-roll all the rotis at once. Roll one at a time and cook immediately before moving on to the next.
These rotis are not suitable for freezing.
Nutrition Information:
Yield: 4 Serving Size: 1Amount Per Serving: Calories: 358Total Fat: 6gSaturated Fat: 1gTrans Fat: 0gUnsaturated Fat: 5gCholesterol: 0mgSodium: 295mgCarbohydrates: 68gFiber: 2gSugar: 0gProtein: 5g
Pin this recipe for later

If you like this, you’ll love my recipe for Spinach Roti
More delicious Indian bread recipes


With love and Gluten Free Roti,
Sanjana


Gluten Free Naan Recipe (Indian Restaurant Style) - Indian Breads
Saturday 9th of November 2024
[…] Gluten Free Roti recipe (3 ingredients) […]
Chris
Sunday 19th of May 2024
Fabulous recipe. I substituted plain gf white flour (Dove's Farm, which is mostly rice) and the results were superb!
Chris
Wednesday 24th of January 2024
Just echoing comme to below. Lost count of the number of recipes that failed. Yours, perfect, puffed up, tender and pliable. Can't thank you enough. Since diagnosed gluten inoleranct six years ago, at last, bread again.
Sanjana
Thursday 22nd of February 2024
I'm so thrilled to hear this, Chris.
sue alexander
Saturday 2nd of September 2023
WOW! This is the first GF flatbread I have ever succeeded with! I laughed out loud when it puffed up! Recent celiac diagnosis. Fajitas! Gyros! Yay! Yay! Yay1! Thank you!!!!!!
Sanjana
Friday 15th of September 2023
This is amazing to hear! Now the possibilities are endless!